Motion Sensors and Occupancy Detection in Smart Homes
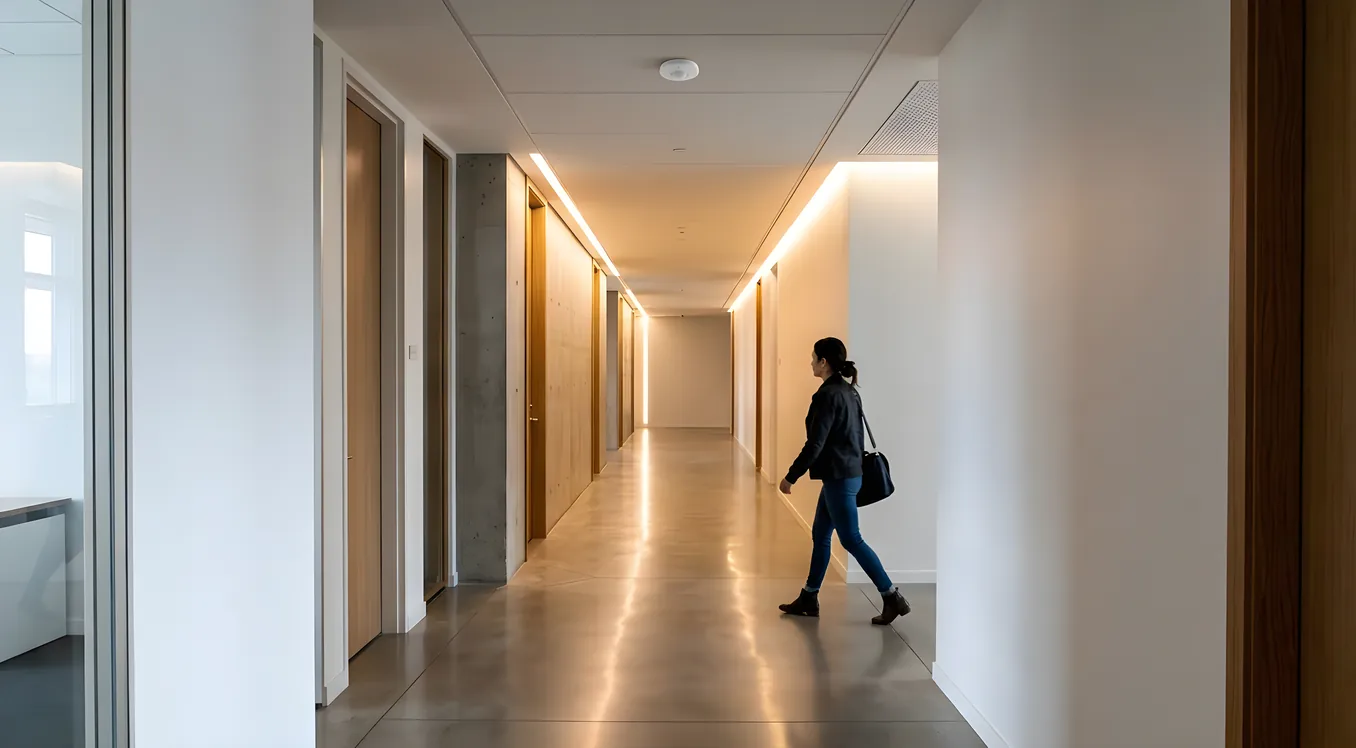
Walk into your kitchen at 2 AM and the lights come on before you reach the switch. Leave the office for a meeting and the thermostat dials back ten minutes later. Step through the front door and your smart lock disarms the alarm, turns on the entry lights, and starts your preferred arrival routine. None of that happens without occupancy detection, and occupancy detection is one of the places where smart home systems either feel truly intelligent or reveal their limitations fast.
Motion sensing and occupancy detection are related but distinct. Motion sensing detects movement. Occupancy detection determines whether a space is actually occupied, which sometimes requires knowing that movement has stopped too. Getting this distinction right drives a lot of the purchasing decisions worth understanding before you buy.
What Motion Sensors Actually Detect
The majority of smart home motion sensors use passive infrared (PIR) technology. A PIR sensor doesn’t emit anything. It reads the infrared radiation that radiates naturally from warm bodies, detects changes in that pattern across two zones on its sensor array, and triggers when a moving warm body creates a differential. The “passive” part matters: there’s no radio wave or laser being sent out and bounced back. The sensor is just listening for heat differentials in motion.
PIR sensors are inexpensive, reliable, and have low power requirements, which is why they dominate the residential market. A basic Z-Wave PIR sensor like the Ecolink PIRZWAVE2.5-ECO retails for around $30 to $40 and runs on a single CR123A battery for two to four years. The Ring Motion Detector (for Ring Alarm systems) runs about $35. The SmartThings Motion Sensor is in the same price band. All of these are PIR-based.
The limitation of PIR is that it detects movement, not presence. Someone sitting still reading a book might as well not be there, as far as a PIR sensor is concerned. This creates the classic smart home frustration: lights turning off on a person sitting quietly at a desk, or a thermostat deciding the room is unoccupied when someone is actively using it.
The solution to that problem comes in two forms. First, some PIR sensors use a wide-angle lens array that picks up very small movements, including minor shifts in posture, typing, or breathing, well enough to register continued occupancy even when someone isn’t walking around. The Lutron Maestro Occupancy Sensor and the Leviton Decora Smart sensor take this approach, with detection zones that capture micro-movements at close range. Second, some systems layer in ultrasonic sensing, which actively pulses high-frequency sound waves (above 25 kHz, inaudible to humans) and detects changes in the return pattern. Ultrasonic sensors catch stationary people because breathing and minor postural shifts disturb the wave pattern.
The most capable occupancy sensors combine PIR and ultrasonic technologies. The Lutron Vive occupancy sensors and the Watt Stopper DT-300 series use dual-technology detection precisely for this reason: PIR handles initial motion detection, while ultrasonic confirms sustained occupancy. These are primarily commercial products, but they’re available for residential projects and are worth considering for offices, libraries, or any space where seated work happens.
A newer category worth knowing about: mmWave (millimeter wave) radar sensors. These use radar at 60 GHz or 77 GHz to detect presence with extremely fine resolution, including detecting a stationary person’s chest rising and falling from breathing. The Aqara FP2 ($80) and the Tuya-based mmWave sensors available under various brand names on Amazon are bringing this technology into the consumer price range. For spaces where true occupancy detection matters, mmWave is meaningfully better than PIR alone, though the early consumer products are still working out firmware reliability.
Types by Form Factor and Installation
In-ceiling sensors mount in a standard electrical box or clip directly to a ceiling tile. They provide the widest coverage area, typically 360 degrees at 8 to 12 feet of ceiling height, covering 900 to 1,500 square feet in an open space. Products like the Lutron LOS-CBR-WH ceiling sensor and the ecobee SmartSensor (mounted ceiling-up in supported configurations) fall into this category. In-ceiling sensors work best in open-plan spaces, great rooms, and commercial-style residential applications.
Wall sensors replace a light switch or mount in a standard single-gang box adjacent to a switch. They cover a wide horizontal field, typically 180 degrees and 20 to 30 feet of depth. The Lutron Maestro MS-OPS5M-WH ($35 to $45) is a popular entry point here, compatible with Lutron’s dimmer ecosystem without requiring a neutral wire in most cases. Wall sensors are the default for bedrooms, bathrooms, and hallways because installation is familiar, no ceiling work is required, and they cover the relevant zone cleanly.
Plug-in sensors sit on a shelf or countertop and plug into a standard outlet. They’re the easiest to install and reposition, which makes them useful for renters and for testing placement before committing to hardwired installation. The SmartThings GP-U999SJVLGDA Motion Sensor and similar products in this category sacrifice some coverage angle for installation simplicity.
Pet-immune variants deserve a specific mention for homes with cats or dogs. A standard PIR sensor will trigger every time a 40-pound dog walks through a room, which means lights turning on at 3 AM when the dog decides to patrol, and false alarms on security systems. Pet-immune sensors use angled lens arrays and signal processing to ignore heat signatures below a threshold weight, typically 40 to 80 pounds depending on the model. The Honeywell IS335 and the DSC BV-500 use this approach in professional security installations. For DIY, the Ring Alarm Motion Detector (second generation) has a built-in pet immunity toggle in the Ring app that reduces sensitivity to small animals.
How Occupancy Detection Connects to the Rest of the Home
A motion sensor on its own is just a trigger. What makes it genuinely useful is integration, and that means understanding what platform it’s connecting to.
Lighting automation is the most common and most immediately useful integration. When a PIR sensor sees motion in a bathroom, it turns on the light. When motion stops for five minutes, it turns the light off. For hallways and utility spaces where occupancy is brief and unpredictable, this eliminates the mental load of remembering to flip switches. For motion-controlled lighting to work well, the sensor’s timeout (also called hold time or vacancy delay) needs to match the typical occupancy pattern. A bathroom needs a longer timeout than a hallway. Most sensors are configurable between 30 seconds and 30 minutes.
HVAC integration is where occupancy detection pays for itself in energy savings. If your thermostat knows a room is actually occupied, it can hold the setpoint. If it knows the room is empty, it can allow a setback. The ecobee SmartThermostat with Voice Control ($250) includes an ecobee SmartSensor that pairs wirelessly and feeds real occupancy data into the thermostat’s Follow Me feature, which weights setpoints toward rooms that are actually in use. For a home where rooms go unused for most of the day, this can reduce HVAC runtime meaningfully.
Nest thermostats use a different approach: on-device PIR sensing in the thermostat itself, plus an algorithm called Home/Away Assist that infers occupancy from phone location and thermostat activity patterns. This works reasonably well for simple cases but lacks the granularity of room-level sensing that multi-sensor systems like ecobee provide.
Security systems are the application most people associate with motion detection. In a security context, motion sensors are triggers for alarms, notifications, and video recording. The Ring Alarm system, SimpliSafe, and DSC PowerSeries Pro all use PIR sensors as primary zone detectors. When integrated with video doorbells and security cameras, motion sensors can trigger pre-roll recording so you capture what happened before the alert, not just after. This requires the right camera hardware (most modern systems buffer continuously for this reason) and is worth confirming before purchasing.
Whole-home automation platforms unlock the most sophisticated occupancy logic. Control4, Savant, and Crestron can correlate multiple data points: motion sensors, door and window sensors, smart lock activity, and schedule data, to build a composite picture of occupancy that’s more reliable than any single sensor alone. If the front door unlocked with a known credential, a motion sensor in the entry triggered, and the kitchen PIR then activated, the system is confident the home is occupied and can adjust lighting, HVAC, and audio accordingly.
For homes with alarm systems integrated into a broader automation platform, occupancy detection often drives armed/disarmed state too. The system arms automatically when the last confirmed occupant leaves, based on smart lock activity, rather than relying on someone remembering to arm on the way out.
Placement Strategy That Actually Works
Where you put sensors matters as much as which sensors you buy. Common mistakes that make systems frustrating:
Covering the wrong zone. A wall sensor pointed at the far end of a long room may miss someone sitting near the door. A ceiling sensor positioned over the center of an open room with a kitchen island in the way may have shadowed coverage behind the island. Draw your floor plan, identify the primary movement corridors, and verify that the sensor’s published detection pattern covers them with the expected ceiling height and mounting position.
Direct sunlight on the sensor. PIR sensors read thermal differentials. A sunny window heating and cooling the floor or a wall near the sensor will generate spurious triggers. Mount sensors where they won’t receive direct solar exposure, or use models with sunlight rejection filters.
Too close to air vents. Heating and cooling vents change the temperature of the air in front of the sensor, which can cause false triggers. Keep sensors at least 3 to 4 feet from HVAC registers.
Pets accessing sensor zones without intent to trigger security. If a dog can walk through a hallway that has a motion sensor paired to an intrusion alarm, you’ll get false alarms. Separate your security sensor zones from pet-accessible areas, or use pet-immune sensors rated for the weight of your animals.
Insufficient sensor count for large open plans. A great room that’s 40 feet across will not be well-served by a single wall sensor at one end. Open-plan spaces often need two overlapping sensors to avoid dead zones, especially for occupancy applications where you need to detect seated presence rather than just walking traffic.
For a typical bedroom, a single ceiling sensor or wall sensor near the door is usually sufficient. For a home office where someone sits for hours, consider a dedicated mmWave sensor pointed at the desk in addition to a PIR sensor at the door. Bathrooms benefit from ceiling sensors with a short mounting height, since the sensor needs to detect through steam and humidity, and wall sensors can be blocked by shower enclosures.
Protocol Choices: Z-Wave, Zigbee, Wi-Fi, and Proprietary
The radio protocol a sensor uses determines what hub it works with and how reliably it communicates.
Z-Wave is the dominant protocol for security-grade residential sensors. It operates at 908 MHz in the US, which gives it better wall penetration than 2.4 GHz protocols, and uses a mesh network where devices repeat signals for each other. Maximum network size is 232 devices. Z-Wave Alliance certification ensures interoperability between brands. SmartThings, Hubitat, and most professional security panels support Z-Wave natively. The Aeotec MultiSensor 7 ($60) offers PIR, temperature, humidity, light level, UV, and vibration sensing in a single Z-Wave device.
Zigbee also runs a mesh network, at 2.4 GHz, and is supported by SmartThings, Amazon Echo Plus (as a hub), Philips Hue Bridge, and many professional platforms. Zigbee sensors are often less expensive than Z-Wave equivalents. The Philips Hue Motion Sensor ($40) is Zigbee-based and integrates tightly with the Hue ecosystem for lighting automation.
Wi-Fi sensors connect directly to your home network without a hub. The advantage is simple setup; the disadvantages are battery drain (Wi-Fi radios consume more power than Z-Wave or Zigbee), network congestion on large networks, and dependency on your router’s reliability. Most Ring Alarm sensors use a proprietary ring-to-hub protocol rather than Wi-Fi, which is a sensible choice for security applications.
Proprietary systems like Lutron Clear Connect, Sonos (though Sonos doesn’t make sensors), and ecobee’s own wireless protocol offer tight integration with their respective ecosystems at the cost of vendor lock-in. Lutron Clear Connect sensors paired with Lutron processors are significantly more reliable than generic Z-Wave sensors in professional installations because the communication protocol is optimized for Lutron’s latency requirements.
For access control applications where occupancy affects gate or garage behavior, the sensor protocol needs to be compatible with whatever controller manages the access hardware. Most professional integrators prefer Z-Wave or proprietary bus-connected sensors over Wi-Fi for security-critical applications.
What Professional Integration Actually Adds
A $35 Z-Wave PIR sensor paired with a free SmartThings hub can do basic motion-to-light automation. What professional systems from Control4, Savant, or Crestron add is programming logic that a consumer hub can’t execute reliably.
Consider a real-world example: a home where someone works from a home office, has two dogs, and wants occupancy-based HVAC and lighting throughout. A consumer setup might trigger lights on any motion, including the dogs, and turn the HVAC to away mode when the homeowner sits still for 20 minutes. A professionally programmed Control4 system would use multiple sensor inputs, including door lock activity, which specific entry code was used, time of day, and calendar data, to build an occupancy model that doesn’t rely solely on motion. The office thermostat knows the homeowner is in there because the office door contact sensor showed the door opened after a known credential unlocked the front door, and the desk mmWave sensor shows continuous presence. The dogs wandering the living room don’t affect the office zone.
That kind of logic requires a platform that supports conditional programming with multiple inputs, persistent state tracking, and inter-device communication. Control4 and Crestron handle this natively. SmartThings and Home Assistant can approach it with enough scripting, but the configuration effort is substantially higher and reliability can vary.
For most homeowners doing a first smart home project, starting with a hub-based consumer system and a handful of Z-Wave sensors is the right move. Install sensors in the highest-impact areas: entry, kitchen, main living area, and home office. Run it for three months and identify where the false triggers or missed detections are costing you. That data is worth far more than a spec sheet when you’re deciding whether to add sensors, swap to a higher-quality sensor type, or invest in professional programming.
Sensor Costs and What to Budget
For a basic DIY setup covering five to eight zones (entry, kitchen, living room, two bedrooms, home office, garage):
- Sensors: $30 to $60 each, so $150 to $480 for the sensor hardware
- Hub: SmartThings or Hubitat Elevation, $70 to $100
- Total: $220 to $580
For a professional installation with in-ceiling sensors, dual-tech occupancy detection, and integration with lighting and HVAC:
- Sensor hardware: $80 to $200 per zone
- Lutron or similar lighting control integration: $1,500 to $8,000 depending on fixture count
- Professional programming and commissioning: $500 to $3,000
For whole-home Control4 or Crestron integration where occupancy drives multiple subsystems:
- The sensor layer is typically a small fraction of total project cost
- Full systems start at $15,000 to $20,000 for smaller homes and scale from there
The sensors themselves are rarely the expensive part. What costs money in professional installations is the commissioning: writing the logic, testing edge cases, and making the system behave predictably across all the scenarios the homeowner will actually encounter.
Choosing the Right System for Your Home
The question isn’t which motion sensor is the best one. It’s what you need the sensor to do, in which spaces, connected to what.
If your goal is lights that turn off automatically in rooms you forget to turn off, a $35 Z-Wave sensor and a SmartThings hub will handle it. If you want a security system where motion zones are carefully delineated, pet-immune where needed, and integrated with cameras and a professional monitoring station, you’re looking at a DSC or Honeywell panel with purpose-built sensors and professional installation.
If you want occupancy to drive heating and cooling with room-level granularity, ecobee’s sensor ecosystem is the most straightforward path. If you want motion sensing to be one input among many in a sophisticated home automation logic layer, you need a platform that supports that kind of multi-input conditional logic, which means either Home Assistant with significant configuration work or a professional platform like Control4 or Savant.
Start with the outcome you want in each space. Then work backward to the sensor type, protocol, and platform that supports it. The technology is reliable and affordable enough that the main risk isn’t the sensor not working; it’s buying the wrong type for what you actually need.
Getting It Right the First Time
Occupancy detection is one of those smart home features that becomes invisible when it works well and genuinely annoying when it doesn’t. The difference between a system that feels like magic and one that gets blamed for turning off lights on someone in the middle of a conversation usually comes down to three things: sensor type matched to the use case, correct placement for the specific room geometry, and platform logic sophisticated enough to handle the actual occupancy patterns in that home.
Get those three right, and motion sensing becomes the kind of automation that makes a home feel like it’s paying attention. It’s also foundational to everything else in a well-designed smart home: lighting, climate, security, and access control all get better when the system has an accurate model of where people actually are.